The difference between “exceptional” content and “acceptable” content can be quite obvious. Acceptable content is producing simply what is needed, nothing really to draw the user in and make the information more engaging and useful. Exceptional content not only provides the information that is needed but also displays and organizes it in a way that makes it far more effective.
Aura’s long list of formatting macros is very useful for creating exceptional content. In particular, in this article, we’d like to highlight Panels. Aura - Panel offers content creators an easy but powerful set of formatting options to design panels that both highlight informational content in an attractive way and add functionality such as linking to another Confluence page or a separate website.
Let’s get started.
Getting Aura Panels In Place
So what are the benefits of using Panels in your Confluence pages? Panels give you a powerful but easy to use, all-in-one graphic that highlights specific whichever content you want. On a page that includes a lot of different kinds of information, Panels help break up the flow in a positive way. They can draw attention to specific topics and content, and focus the attention of the reader where you want it.
Installing Aura Macros
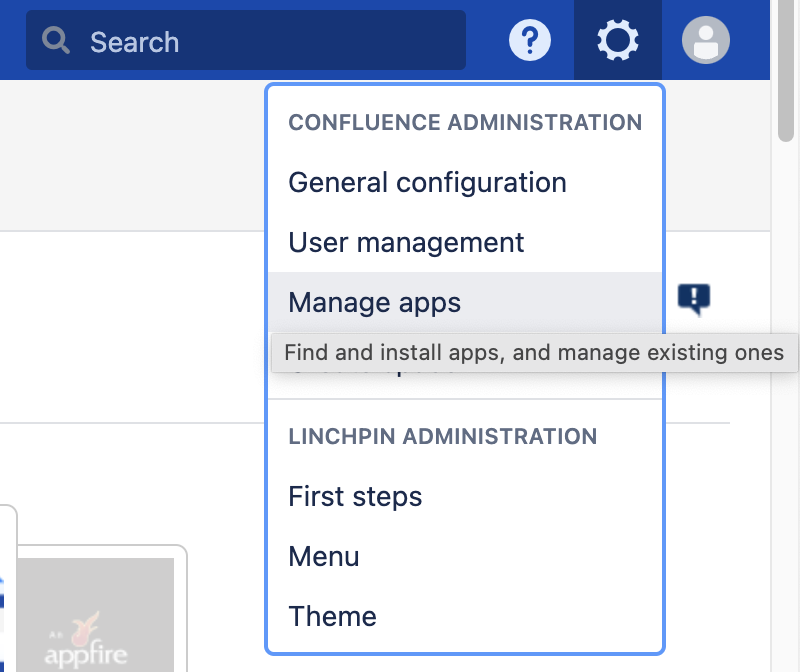
If you haven’t already, you’ll need to install the Aura app via the Settings / Manage Apps option of your Confluence instance. You'll find this option near the top-right corner of your screen:
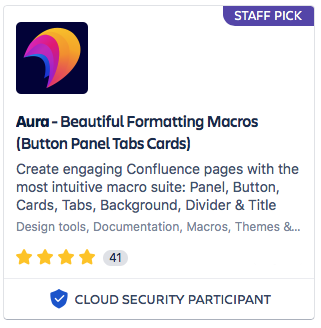
This will take you to the Admin settings. You may have to give your login details again. Once you've done this, either scroll down to the Atlassian Marketplace section in the left column and click on “Find new apps” or search for "Find new apps" in the search bar at the top of the same column and click on it. On the right, in the “Search the Marketplace” field, type in “Aura” and hit enter. Click on the panel like the one pictured below and install it.
Inserting Aura Panel Macros
Once installed, create a new page in Confluence or go into Edit mode on the page where you want to add an Aura Panel and from the menu bar choose the Insert button (+ ˅ ). In the search box, type "Aura", scroll down to "Aura Panel" and click on it.

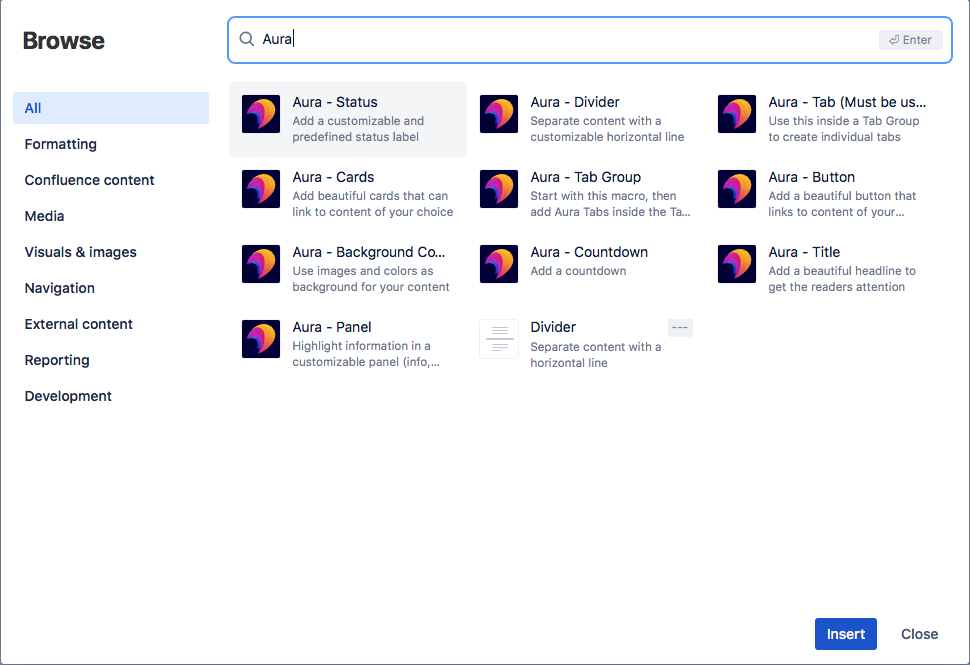
To see all the Aura macros in a useful overview, after clicking the Insert button (+ ˅ ) as you did above, click the • • • View More option at the bottom of the list. On the next screen, once again enter in Aura in the search bar and all the included Aura macros will be displayed. Choose Aura - Panel, and click Insert.
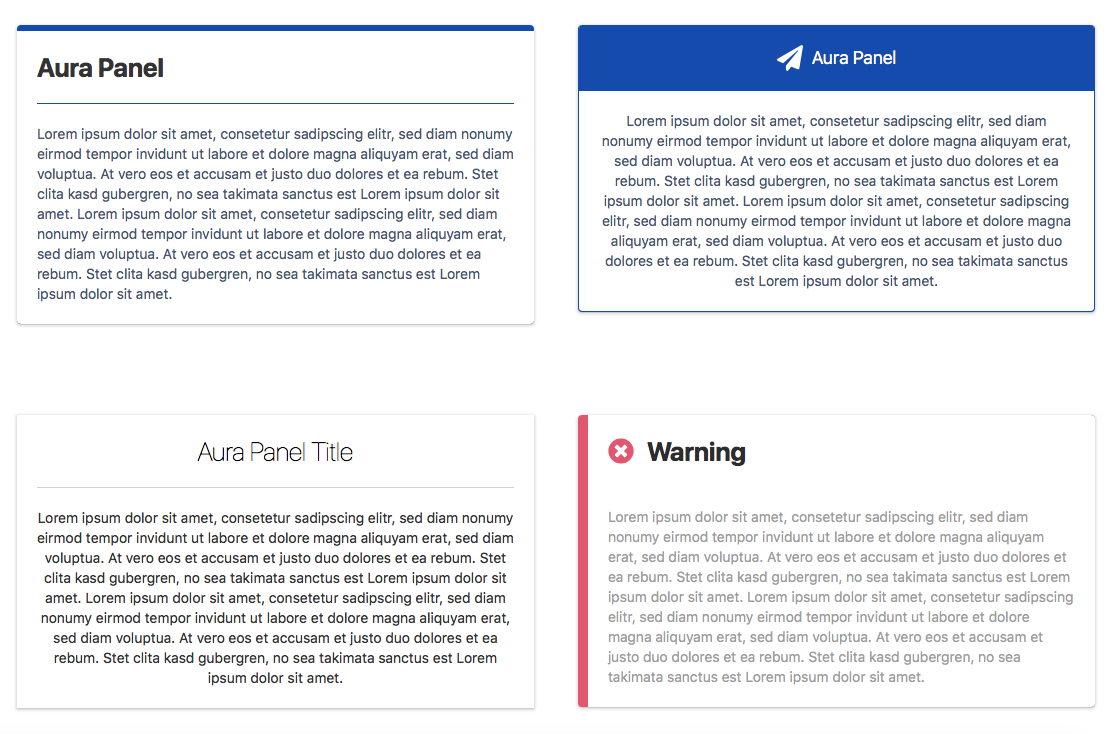
Aura - Panels contain four different template styles; subtle, classic, notifications, or sticky notes. Under each of these style groupings you'll find several related, prebuilt sub-styles to choose from. By simply choosing from one of these templates, you’ve already accomplished a great deal in enhancing your content without any customization. But customize you can!
Customizing your Aura Panel
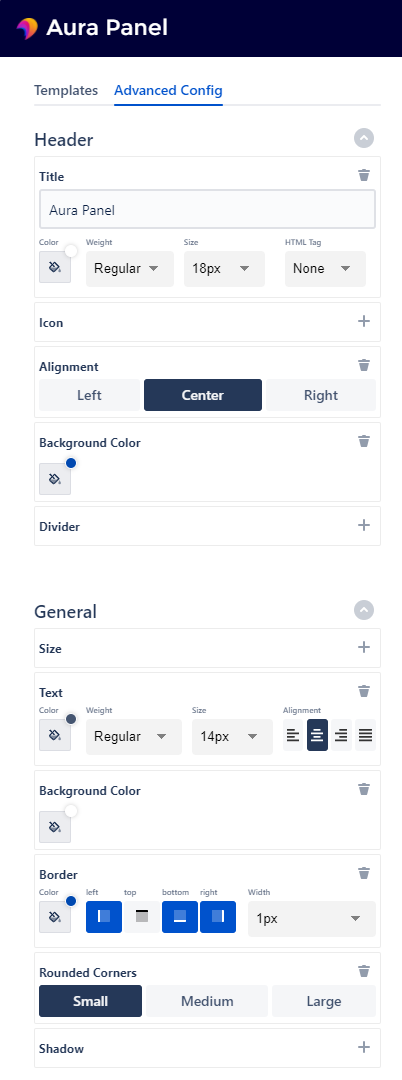
Once you’ve chosen your template, click on the Advanced Config tab. Here you'll find options to change the Aura Panel to fit your needs. For example, change the color, weight, and size of the title header and see what happens. Add an icon and customize its look. Add a background color, add a link to an internal or external webpage, change the overall look of the panel itself by rounding the edges, adding a shadow - who said making a web page look nice was difficult?
Aura Panels In Action
The uses are, as they say, “endless”, but to get some inspiration, let’s take a quick look at two different scenarios.
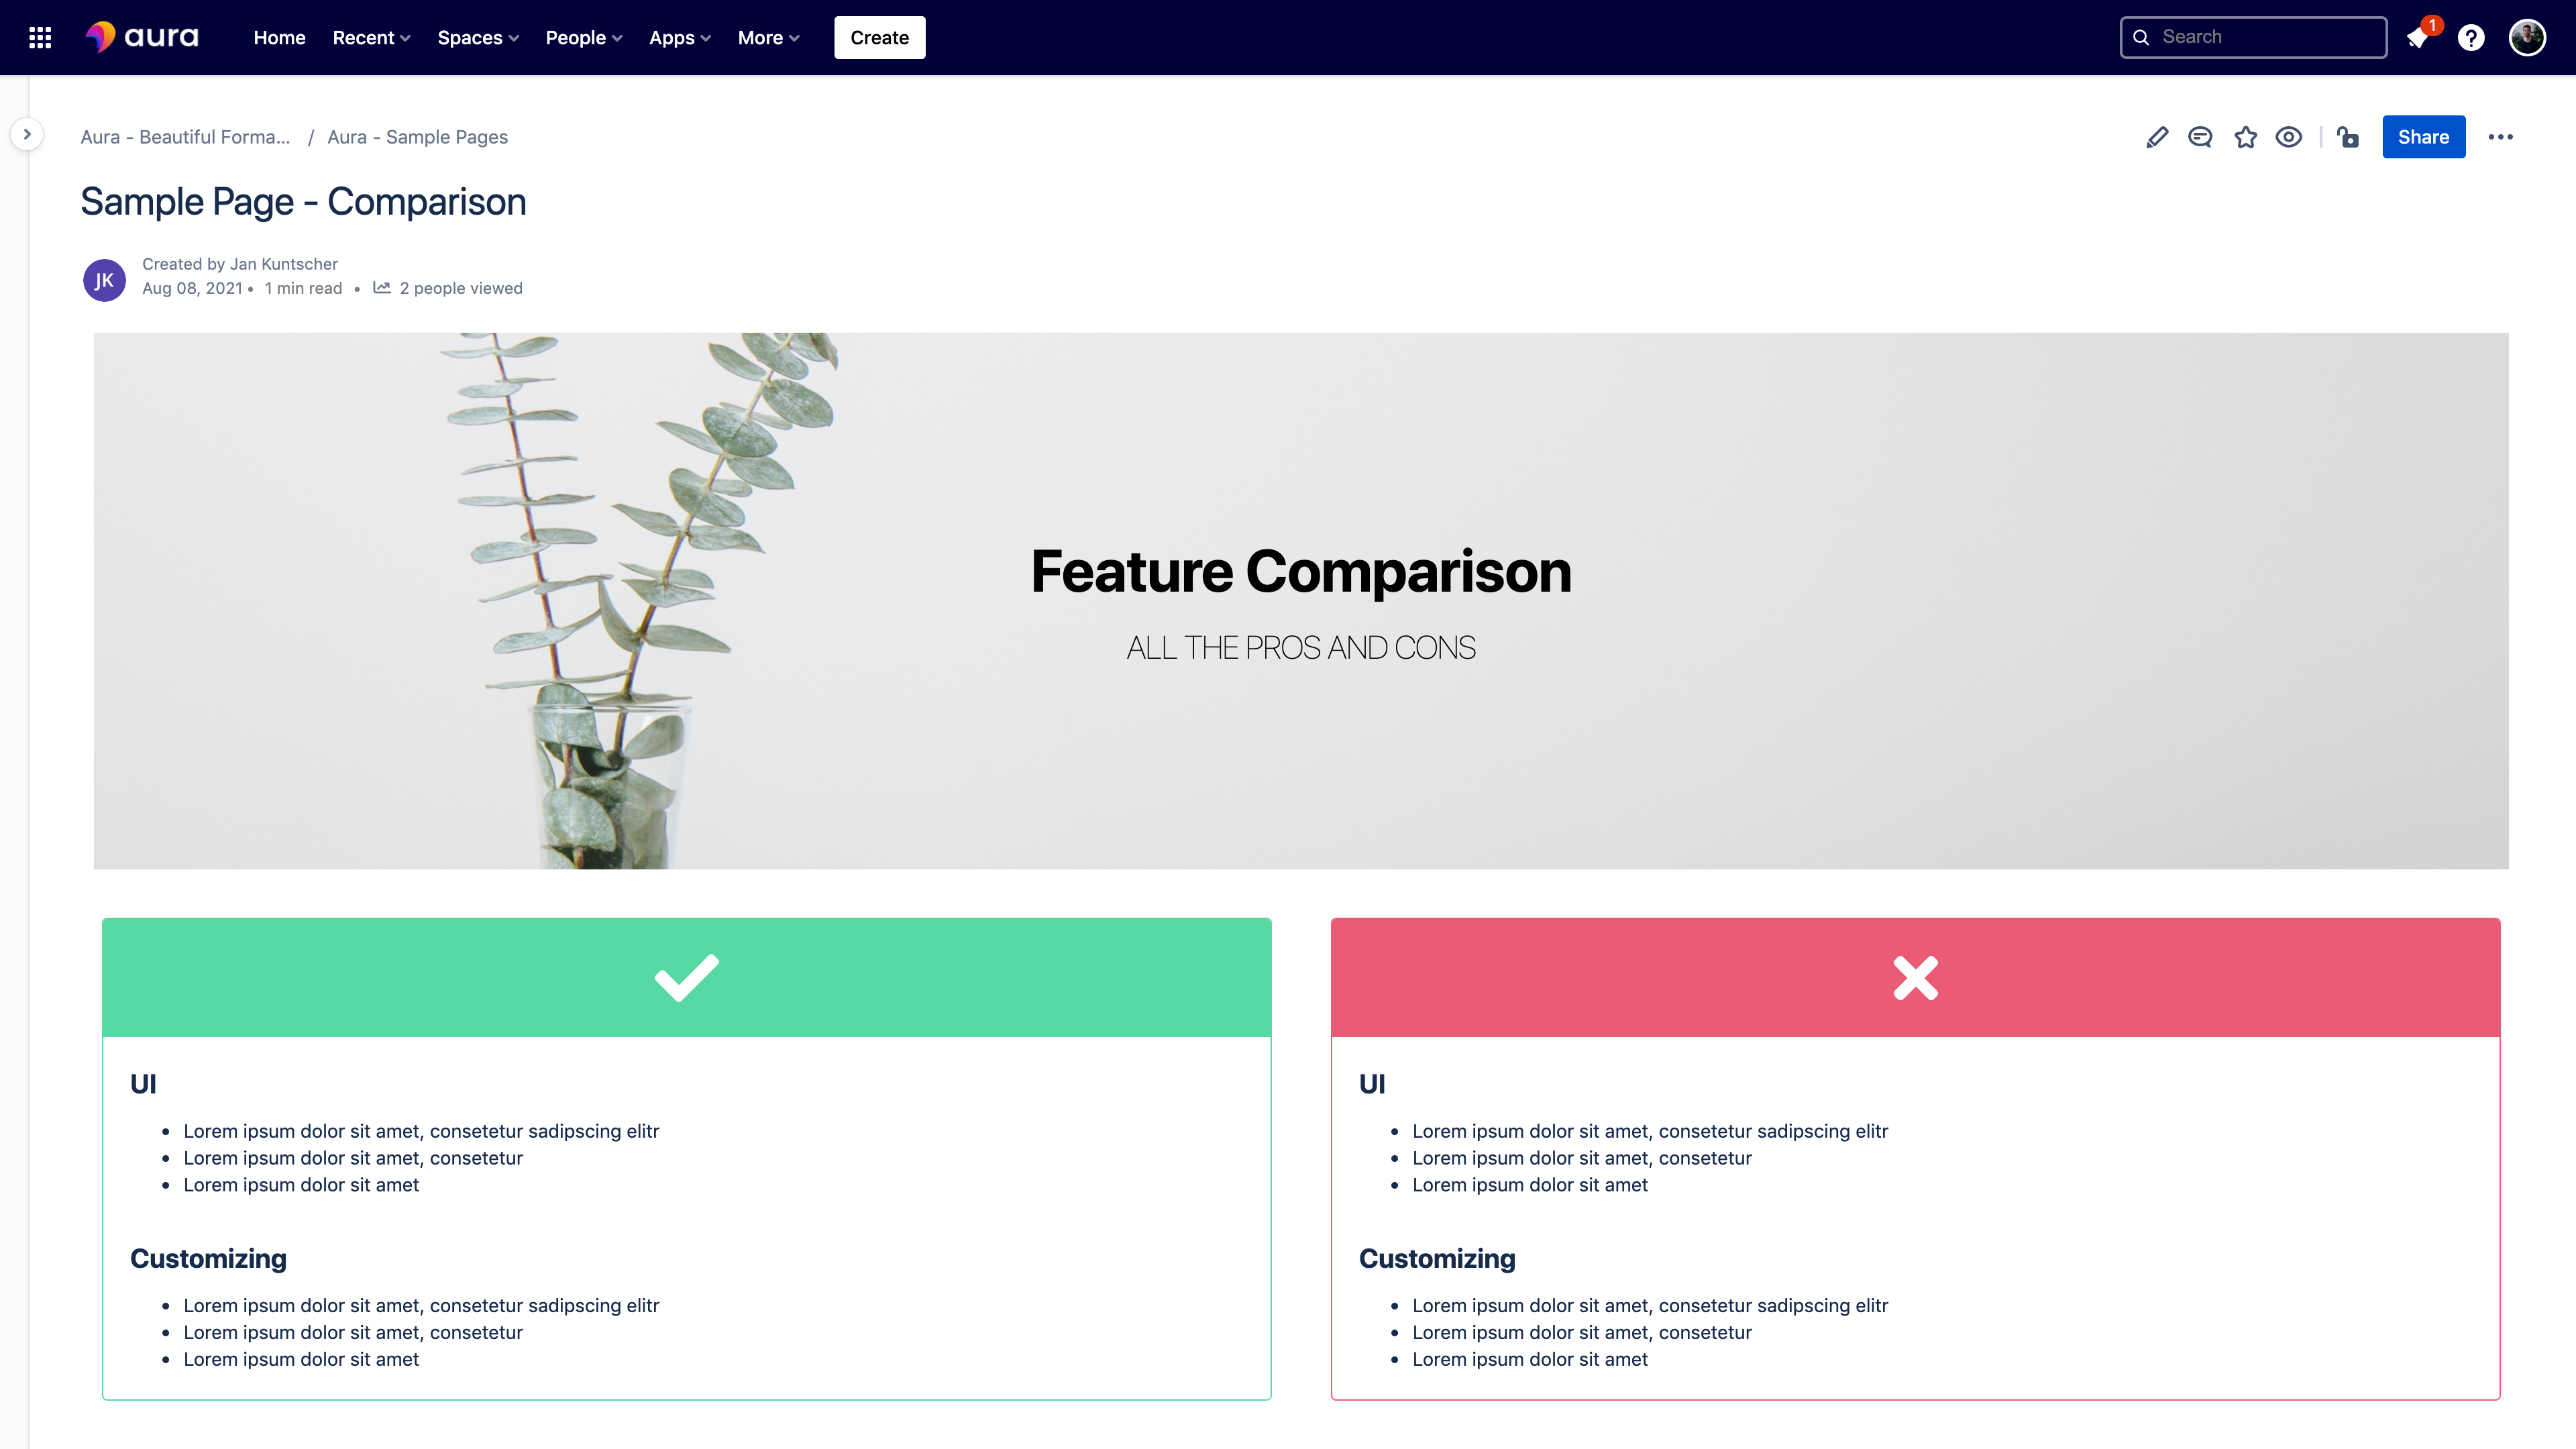
Pros vs. Cons
In our first example, we want to draw a clear distinction in a comparison of product features, the classic “Pros vs. Cons”. Burying a list of positive and negative comments within a paragraph or even a basic bullet list is a sure way to confuse the reader. Forcing them back and forth through a paragraph to tie together the comparison of features is inefficient and frustrating. Why not create two side-by-side Aura Panels, using icons and colors to visually aid your comparison? Easy to read AND incredibly effective. There's no way this is confusing anymore:
Quick Access to Specific Pages
Now, let’s look at a second example use. We want to provide our readers with quick and ready access to four areas of our Confluence pages that we think would be most useful to our user, the team members and to us as the team leader to get everyone up to speed.
Based on our experiences, the Documentation, Versions, Downloads, and Community pages are the ones that contain the content most people are interested in. However, we don’t want to use the basic text/hyperlink look. We want something that grabs their attention, visually associates an image with the related content, and directs them where they need to go. Aura Panel achieves that in just a few quick steps, allowing you to create an attractive group of functional panels.
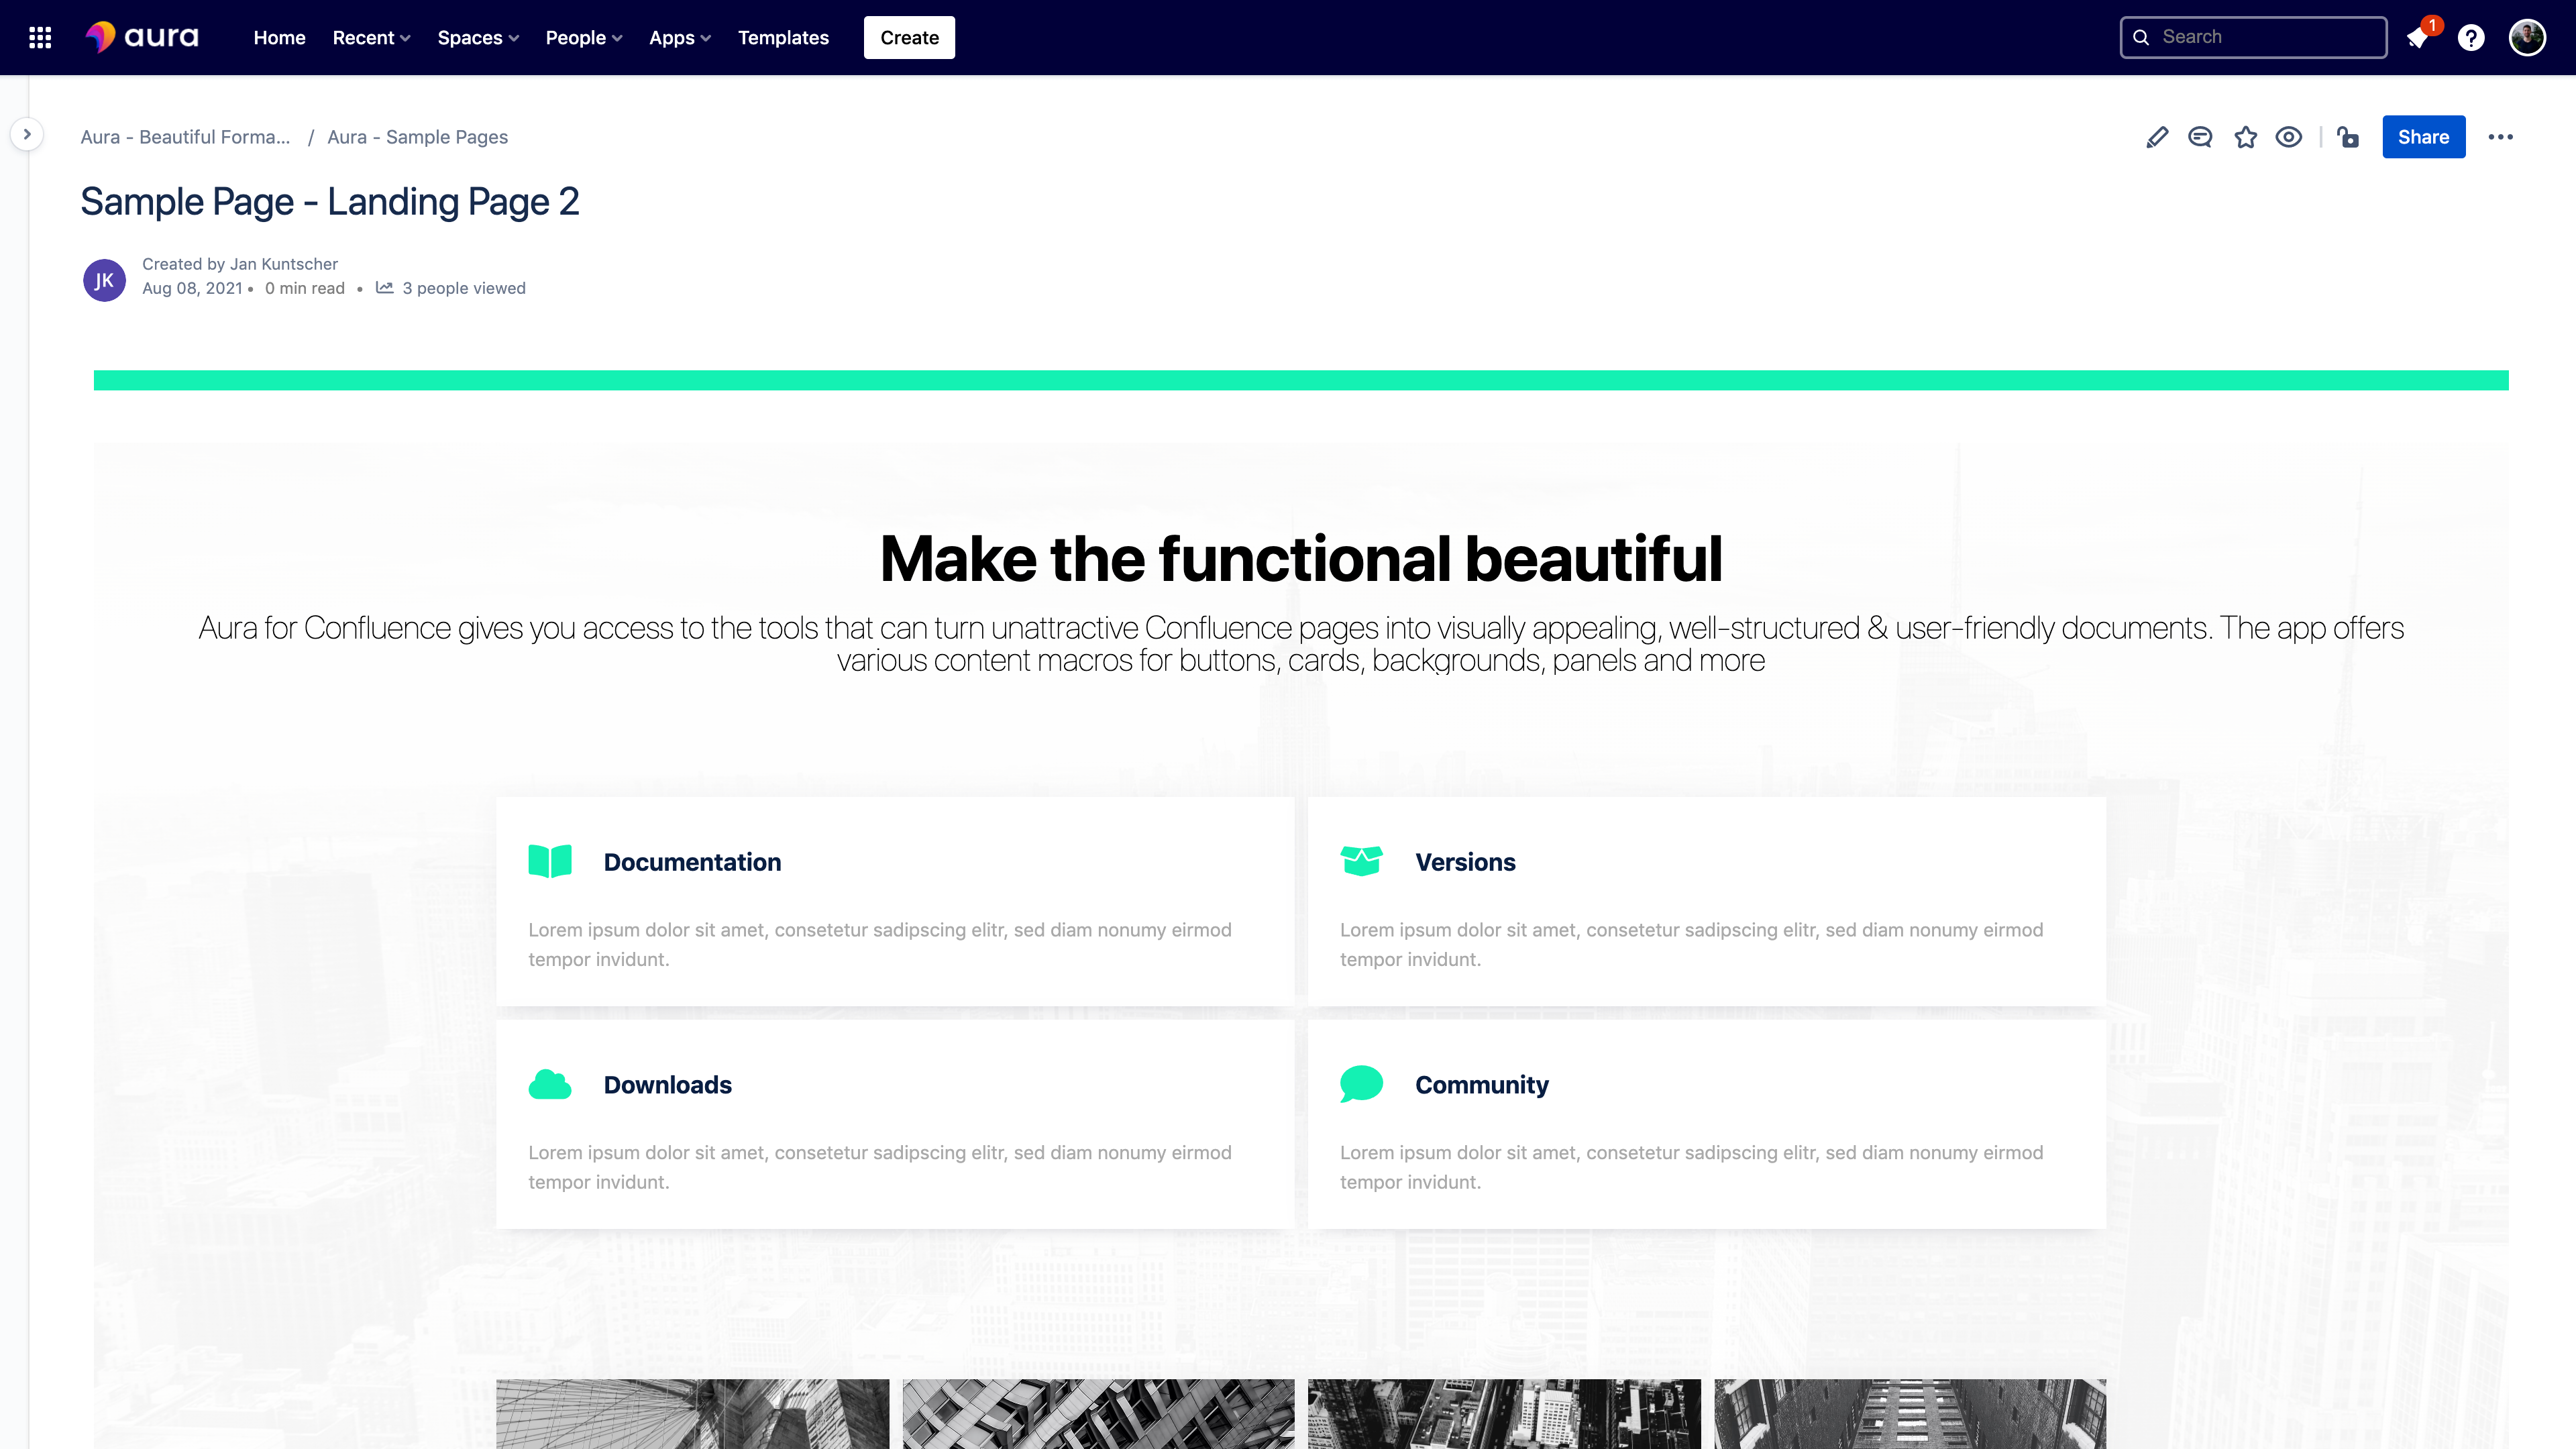
The heading of the graphic in our example above hits the nail on the head; “Make the functional beautiful”. That in a nutshell is what Aura Panels is all about!
To Learn More
To dive deeper into the features and functionality, you can check out our Aura Macro Walkthrough here. If you’re ready to make the leap and get going with this dynamic duo, and the full Aura suite of macros, head on over to Atlassian’s Marketplace. Or do you want to get started right away? Our Aura team gives a 90-minute online training course, which is great for getting to know the functional basics and using the product effectively.
Further Reading
- Aura in Confluence: Make the Functional Beautiful
- Color Management in Confluence with Aura
- Titles, Buttons & Divider in Confluence with Aura


